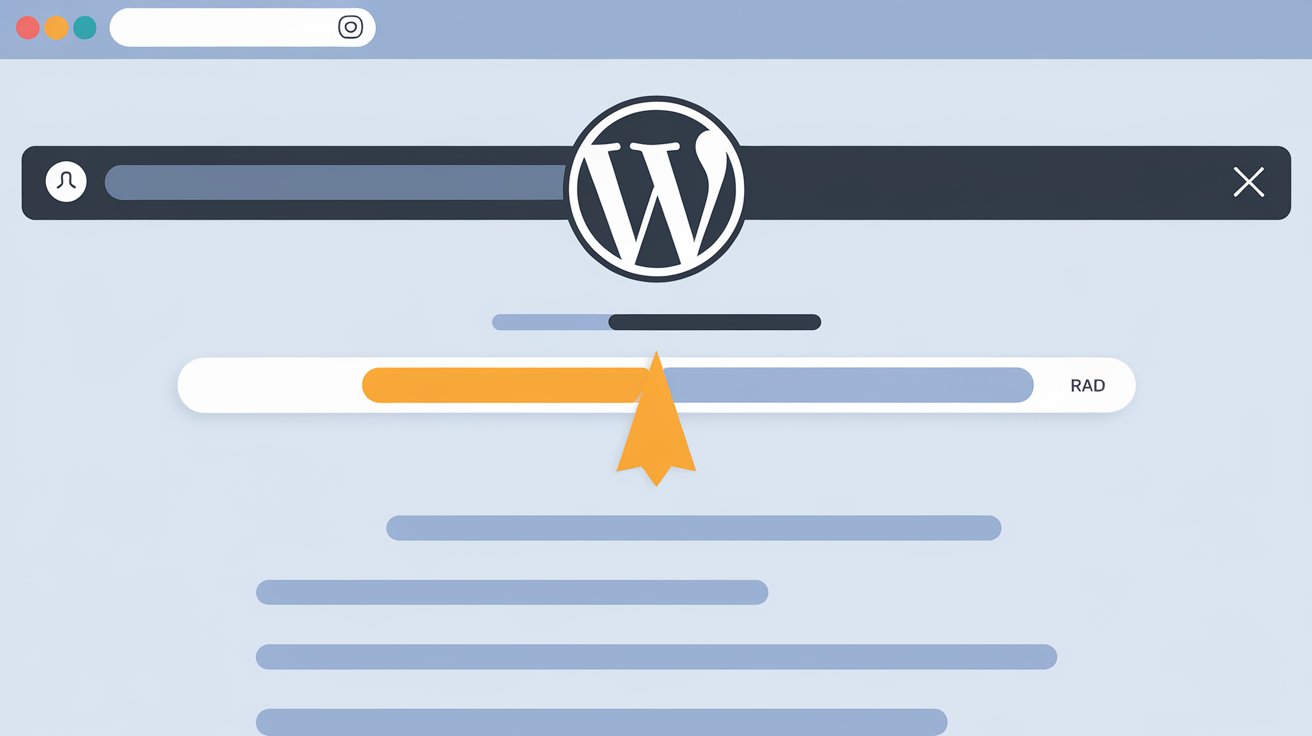
Keeping visitors engaged on your WordPress website is crucial for reducing bounce rates and improving user experience. One simple yet effective way to enhance user engagement is by adding a reading scroll progress bar. This visual indicator lets users know how much of the content they have read and encourages them to continue reading.
In this article, we will explore three different ways to add a reading scroll progress bar to your WordPress website.
Read More: How to Add an Animated Floating Telegram Button in Blogger & WordPress
Method 1: Using a Plugin (Easiest Way)
If you prefer a no-code solution, using a WordPress plugin is the best option. Follow these steps:
- Install a Plugin:
- Go to your WordPress dashboard.
- Navigate to Plugins > Add New.
- Search for “WP Reading Progress“ or “Reading Progress Bar“.
- Click Install and then Activate the plugin.
- Configure the Plugin:
- Once activated, go to Settings in your dashboard.
- Customize options such as bar position (top/bottom), color, and thickness.
- Save the settings.
- Test Your Progress Bar:
- Open a blog post and scroll down to see the progress bar in action!
Method 2: Adding a Progress Bar with Custom Code
For those who prefer a lightweight, plugin-free solution, you can add a reading progress bar manually by inserting a small piece of HTML, CSS, and JavaScript into your WordPress theme.
Step 1: Add HTML and CSS
- Navigate to Appearance > Theme Editor in your WordPress dashboard.
- Open the
header.phpfile and add the following code right before the closing<head>tag:
<div id="reading-progress-bar"></div>
<style>
  #reading-progress-bar {
      position: fixed;
      top: 0;
      left: 0;
      width: 0;
      height: 5px;
      background-color: #4caf50;
      z-index: 9999;
  }
</style>
Step 2: Add JavaScript for Scroll Tracking
- Open the
footer.phpfile and insert this script before the closing<body>tag:
<script>
window.onscroll = function() {
    var scroll = document.documentElement.scrollTop || document.body.scrollTop;
    var height = document.documentElement.scrollHeight - document.documentElement.clientHeight;
    var progress = (scroll / height) * 100;
    document.getElementById("reading-progress-bar").style.width = progress + "%";
};
</script>
Step 3: Save and Test
- Save your changes and refresh your website.
- Scroll down on any page to see your progress bar in action!
Method 3: Using a Page Builder (Elementor or Custom Themes)
If you use Elementor, Divi, or another page builder, you may find built-in options for adding a progress bar. Here’s how you can do it in Elementor:
- Open the Elementor Editor for the page you want to add the progress bar to.
- Search for “Progress Bar” in the Elementor widget panel.
- Drag and drop the widget onto your page.
- Adjust the styling, animation, and behavior as needed.
- Save and preview your changes.
Some premium WordPress themes also come with a built-in progress bar feature, so check your theme settings before adding external plugins or custom code.
Final Thoughts
Adding a reading scroll progress bar to your WordPress website is a simple yet powerful way to enhance user experience. Whether you prefer using a plugin, writing custom code, or utilizing a page builder, each method has its advantages.
- Plugins are great for beginners who want an easy, plug-and-play solution.
- Custom code offers more flexibility and ensures better performance without additional plugins.
- Page builders provide a drag-and-drop method that works well for non-technical users.
Try implementing a reading progress bar today and see how it improves engagement on your website!
Do you have a preferred method for adding a progress bar? Share your thoughts in the comments below!
