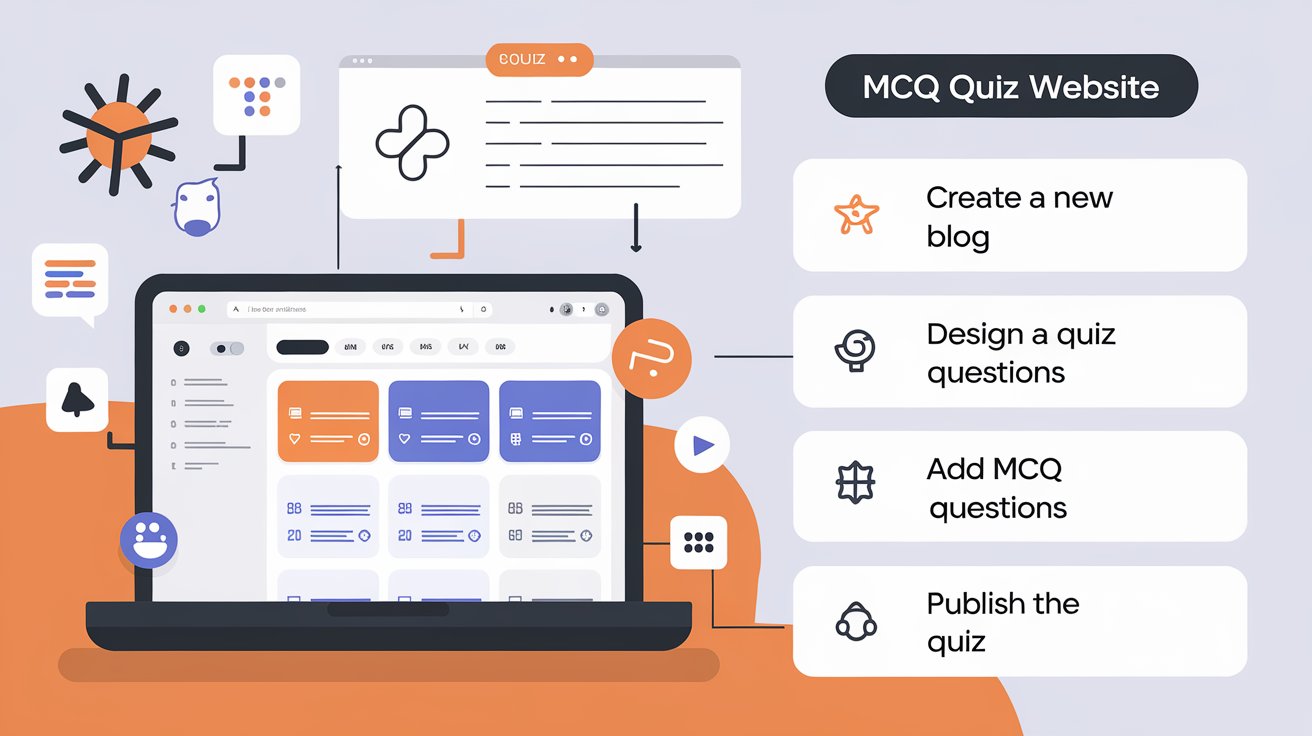
If you’re looking to create an engaging and interactive multiple-choice question (MCQ) quiz website, Blogger is a great platform to start with. It’s free, easy to use, and requires no coding knowledge.
Whether you want to create quizzes for education, fun, or business, this guide will help you set up your MCQ quiz website step by step.
Read More: How to Add a Stylish Timeline in Blogger Website
Step 1: Create a Blogger Website
The first step is to create a website on Blogger:
- Go to Blogger and sign in with your Google account.
- Click “Create a New Blog.”
- Choose a name, URL, and theme that aligns with your quiz topic.
- Click “Create Blog.”
Once your blog is created, you can start customizing it to make it more interactive and user-friendly.
Step 2: Customize Your Theme
A well-designed website improves user experience. You can:
- Select a responsive theme under Theme Settings.
- Customize fonts, colors, and layouts to enhance visual appeal.
- Install a third-party mobile-friendly theme for a professional look.
Step 3: Add MCQ Quiz Posts
Option 1: Create Quizzes Manually in Blogger Posts
- Go to “Posts” and click “New Post.”
- Format questions and answers using bullet points or numbering.
Example Format:
Q1: What is the capital of France?
A) London
B) Berlin
C) Paris
D) Madrid

Correct Answer: C) Paris
Option 2: Use HTML & JavaScript for Interactive Quizzes
To make your quizzes interactive, use simple JavaScript:
<h3>What is 5 + 3?</h3>
<input type="radio" name="q1" value="6">6<br>
<input type="radio" name="q1" value="8">8<br>
<input type="radio" name="q1" value="10">10<br>
<button onclick="checkAnswer()">Submit</button>
<p id="result"></p>

<script>
  function checkAnswer() {
    let answer = document.querySelector('input[name="q1"]:checked').value;
    if (answer == "8") {
      document.getElementById("result").innerHTML = "Correct!";
    } else {
      document.getElementById("result").innerHTML = "Wrong! Try again.";
    }
  }
</script>
This adds a simple interactive quiz where users get instant feedback on their answers.
Step 4: Use Online MCQ Quiz Makers
If coding isn’t your thing, you can embed quizzes using online tools:
- Google Forms (Supports MCQs and auto-grading)
- Quizizz, Kahoot!, or ProProfs (Interactive quizzes)
To embed a Google Forms quiz:
- Create a quiz in Google Forms.
- Click “Send” > “Embed”.
- Copy the iframe code and paste it in the Blogger HTML editor.
Step 5: Organize Content with Labels & Navigation
To enhance user experience:
- Use labels for categories like “Science Quiz,” “Math Quiz,” etc.
- Create a menu bar linking to different quiz sections.
- Add a search bar to help users find quizzes easily.
Step 6: Monetize Your Quiz Website
Once your quiz website gains traffic, you can monetize it:
- Google AdSense – Display ads to earn from clicks.
- Affiliate Marketing – Promote books, courses, or educational products.
- Sponsored Posts – Accept paid quiz submissions or collaborations.
Step 7: Promote Your Quiz Website
To drive traffic:
- Share quizzes on Facebook, Instagram, Twitter, and WhatsApp.
- Post in educational forums, Reddit, and Quora.
- Use SEO-friendly titles and keywords like “Best GK MCQ Quiz 2025.”
Final Thoughts
Starting an MCQ quiz website on Blogger is simple and requires no investment. You can start with text-based quizzes, add JavaScript interactivity, or embed third-party quizzes. With consistent effort, your website can attract users and generate revenue through ads and affiliate marketing.
Want a ready-made HTML quiz template for Blogger? Let me know in the comments! 🚀
